DIY Fixes for Aluminum Alloy Wheel Rims
Embrace the hands-on approach with our guide on DIY fixes for damaged alloy wheel rims. Understand, repair, and restore!
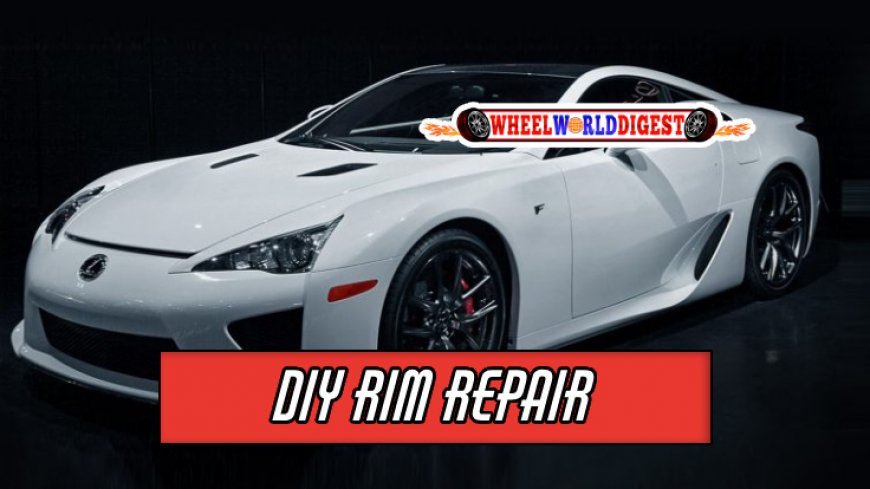
Curious about DIY rim repair? We've got you covered! This comprehensive guide summarizes the expert techniques for restoring damaged alloy wheels back to their prime. With just a hands-on approach, and a few tools, you can tackle those unsightly scuffs and scrapes and give your wheels a shiny new lease of life.
The Art of DIY Rim Repair
Aluminum alloy wheels are known for their lightweight, durability, and capacity to enhance vehicle performance. But when they sustain damage, the task of restoring them can become daunting. That's when DIY repair comes to the rescue. By understanding how to do it yourself, not only will you save money but also improve your knowledge about your vehicle's components.
Table of Contents
- Understanding Rim Damage
- Tools for DIY Rim Repair
- Step-by-Step Guide to DIY Rim Repair
- Filling and Sanding
- Painting and Polishing
- Caring for and Maintaining your Rims
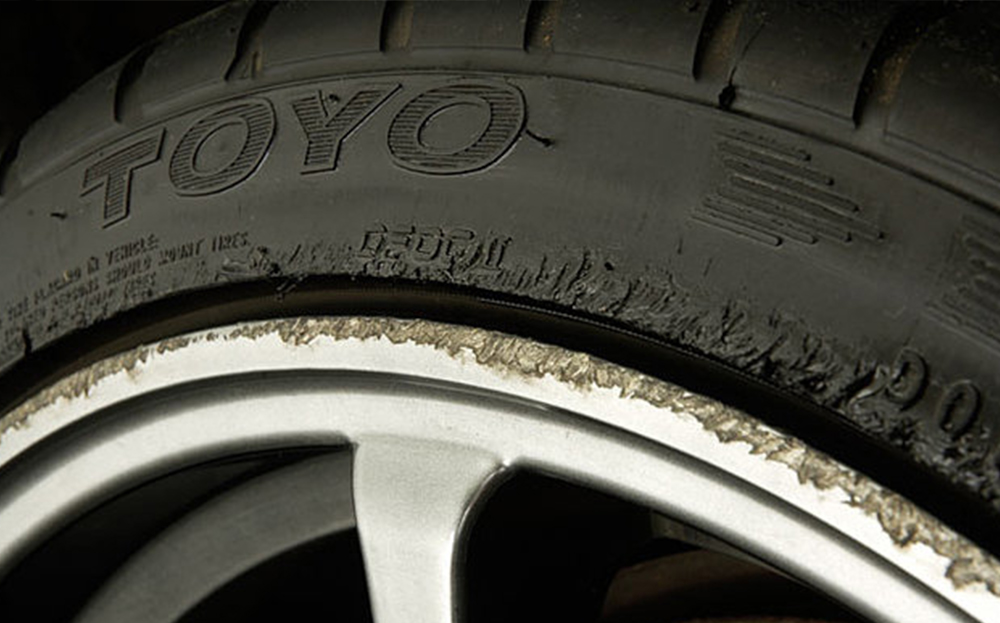
Understanding Rim Damage
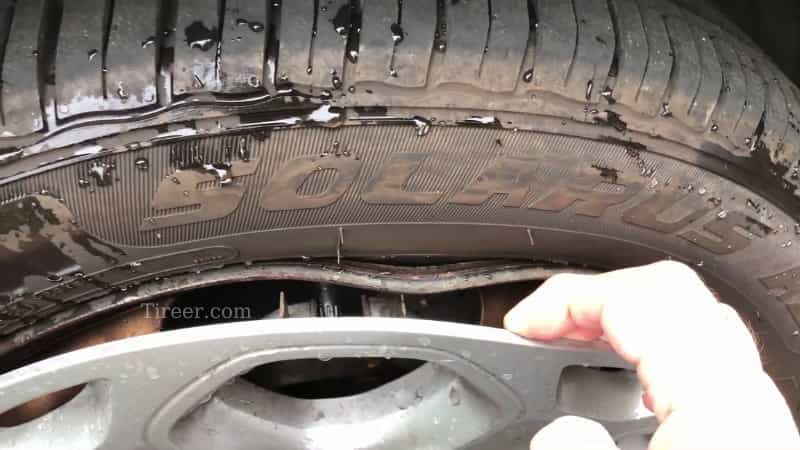
Rim damage can be a result of numerous factors like potholes, curbs, or even general wear and tear. The tragedy is that it may lead to dangerous driving conditions if untreated. But don't fret! The first step in our guide to DIY rim repair is understanding the damage. Not all damage is the same; it could range from minor scuffs to deep gouges that affect the wheel's balance. By
- Scuffs or Scratches: These are the most common type of damage. Usually caused by harsh contact with curbs.
- Chips: These can come from debris on the road hitting the wheel.
- Gouges: These are deeper and more serious, often caused by substantial collisions.
Repairing your rims primarily revolves around these damages. Minor scrapes and scuffs can be a DIY task, while significant, deeper damages might call for a professional.
Assessing the Damage
Before embarking on the repair process, it's crucial to inspect your rims thoroughly and assess the extent of the damage. If they're not too badly damaged, give DIY a shot.
Tools for DIY Rim Repair
Repairing your car’s rims at home can be achieved with some essential tools and materials. Here's what you’ll need:
- Aluminum Filler
- Primer
- Aluminum Wheel Paint
- Sandpaper (100-grit and 400-grit)
- Clear Coat
- Masking Tape
- Clean Cloth
- Bucket and Soap
This comprehensive toolkit will cover every stage of the repair process, from cleaning to the final finishing touches.
Step-by-Step Guide to DIY Rim Repair
When it comes to DIY rim repair, proper preparation and technique go a long way. Follow our step-by-step guide and you’ll have your wheels looking as good as new in no time.
Step 1: Prepare the Wheel
Removing the wheel from your vehicle is the first step. Secure your vehicle on jack stands before detaching the wheel. Clean it thoroughly using soap and water, ensuring the surface is free from dust, grime, brake dust, and other impurities. Dry feed wire thoroughly before beginning repair.
Step 2: Identify, Sand and Wipe
Next, identify the damaged areas. Use 100-grit sandpaper to sand down each damaged area until it feels flush with the rest of the wheel's surface. Wipe the wheel clean with a dry cloth after sanding to prepare for the next step.
Step 3: Apply Aluminum Filler
"The magic happens here," as some would say. Use the aluminum filler as an artist uses clay, molding it to fill any dings or gouges on your wheel. Smooth it out using a spatula, ensuring the filler covers the whole damaged area and is even with the rest of the wheel. Then, leave it to dry according to the instructions on the package.
Step 4: Sand the Filled Areas
After the filler has dried, you will need to sand it down again. This time around, use the finer 400-grit sandpaper, and sand in a circular motion around the repaired areas. This will help to achieve a smooth finish on your wheel rims. Remember, the goal is to make the repaired areas blend with the rest of the wheel.
Step 5: Apply Primer
Primer acts as a base for the paint to adhere better. Using your masking tape, cover the tires and any part of the wheel you don't want to paint. Next, apply the primer on the areas treated with the filler. Wait for the primer to dry as per the instructions on the can before proceeding to the next step.
Filling and Sanding
Filling and sanding are an integral part of the repair process. Smooth, well-filled, and sanded rims look not just better but also offer a smooth driving experience.
Tips to Remember
- Use a light touch when applying filler and sanding.
- Make sure the filled areas are smooth and flush with the rest of the wheel surface.
- Take your time. Haste can lead to more errors!
Painting and Polishing
We're almost there! With the wheel primed and ready, it's now time to paint. Ensure that you are working in a well-ventilated area or outdoors, away from flames and sparks.
Step 6: Apply Wheel Paint
Apply the aluminum wheel paint in thin, even strokes, covering the treated areas. Be patient — it's better to paint several thin layers rather than one thick one. Let each layer dry completely before applying the next.
Step 7: Apply Clear Coat
After the paint has dried thoroughly, spray a clear coat on your wheel to protect the paint and give it a glossy finish. Let the clear coat dry for at least 24 hours before re-attaching the wheel to your vehicle.
Caring for and Maintaining your Rims

And voila! Your alloy wheel rim is as good as new. But remember, the effort doesn't stop here. Proper care and maintenance will ensure that your rims stay in top-notch condition for much longer.
- Regular Cleaning: Clean your rims regularly to prevent buildup of dust, grime, or corrosive substances.
- Tire Pressure Check: Maintain the correct tire pressure to reduce the risk of rim damage.
- Routinely Inspect: Routinely inspect the rims for any new signs of damage.
A diligent approach to taking care of your wheels not only preserves their aesthetics but also fosters safer driving. Remember, every car comes with its own joys and challenges, and with this newfound ability to fix alloy wheels, you're just one step closer in mastering it all! Happy repairing!
What's Your Reaction?